Face Shields iCREATE
The COVID-19 virus has caused a lot of need for Personal Protective equipment (PPE) to help our health care workers. I developed a procedure to do this with 3D printing a RIM and then putting a variety of components together that I was able to source locally.
My CIO asked me Thursday March 19th – would it be possible to print 3D models and create a face shield? I had wondered that myself but thought why not.
The idea for this came from some article that we saw that someone was producing a face shield for a local hospital in upstate NY. I knew it was possible to just need to spend some time getting all my thoughts and plans together.
That evening my wife and I went to Staples, Joann’s Fabrics and Home Depot to get the foam, weather stripping and elastic that we use for putting all the pieces together.
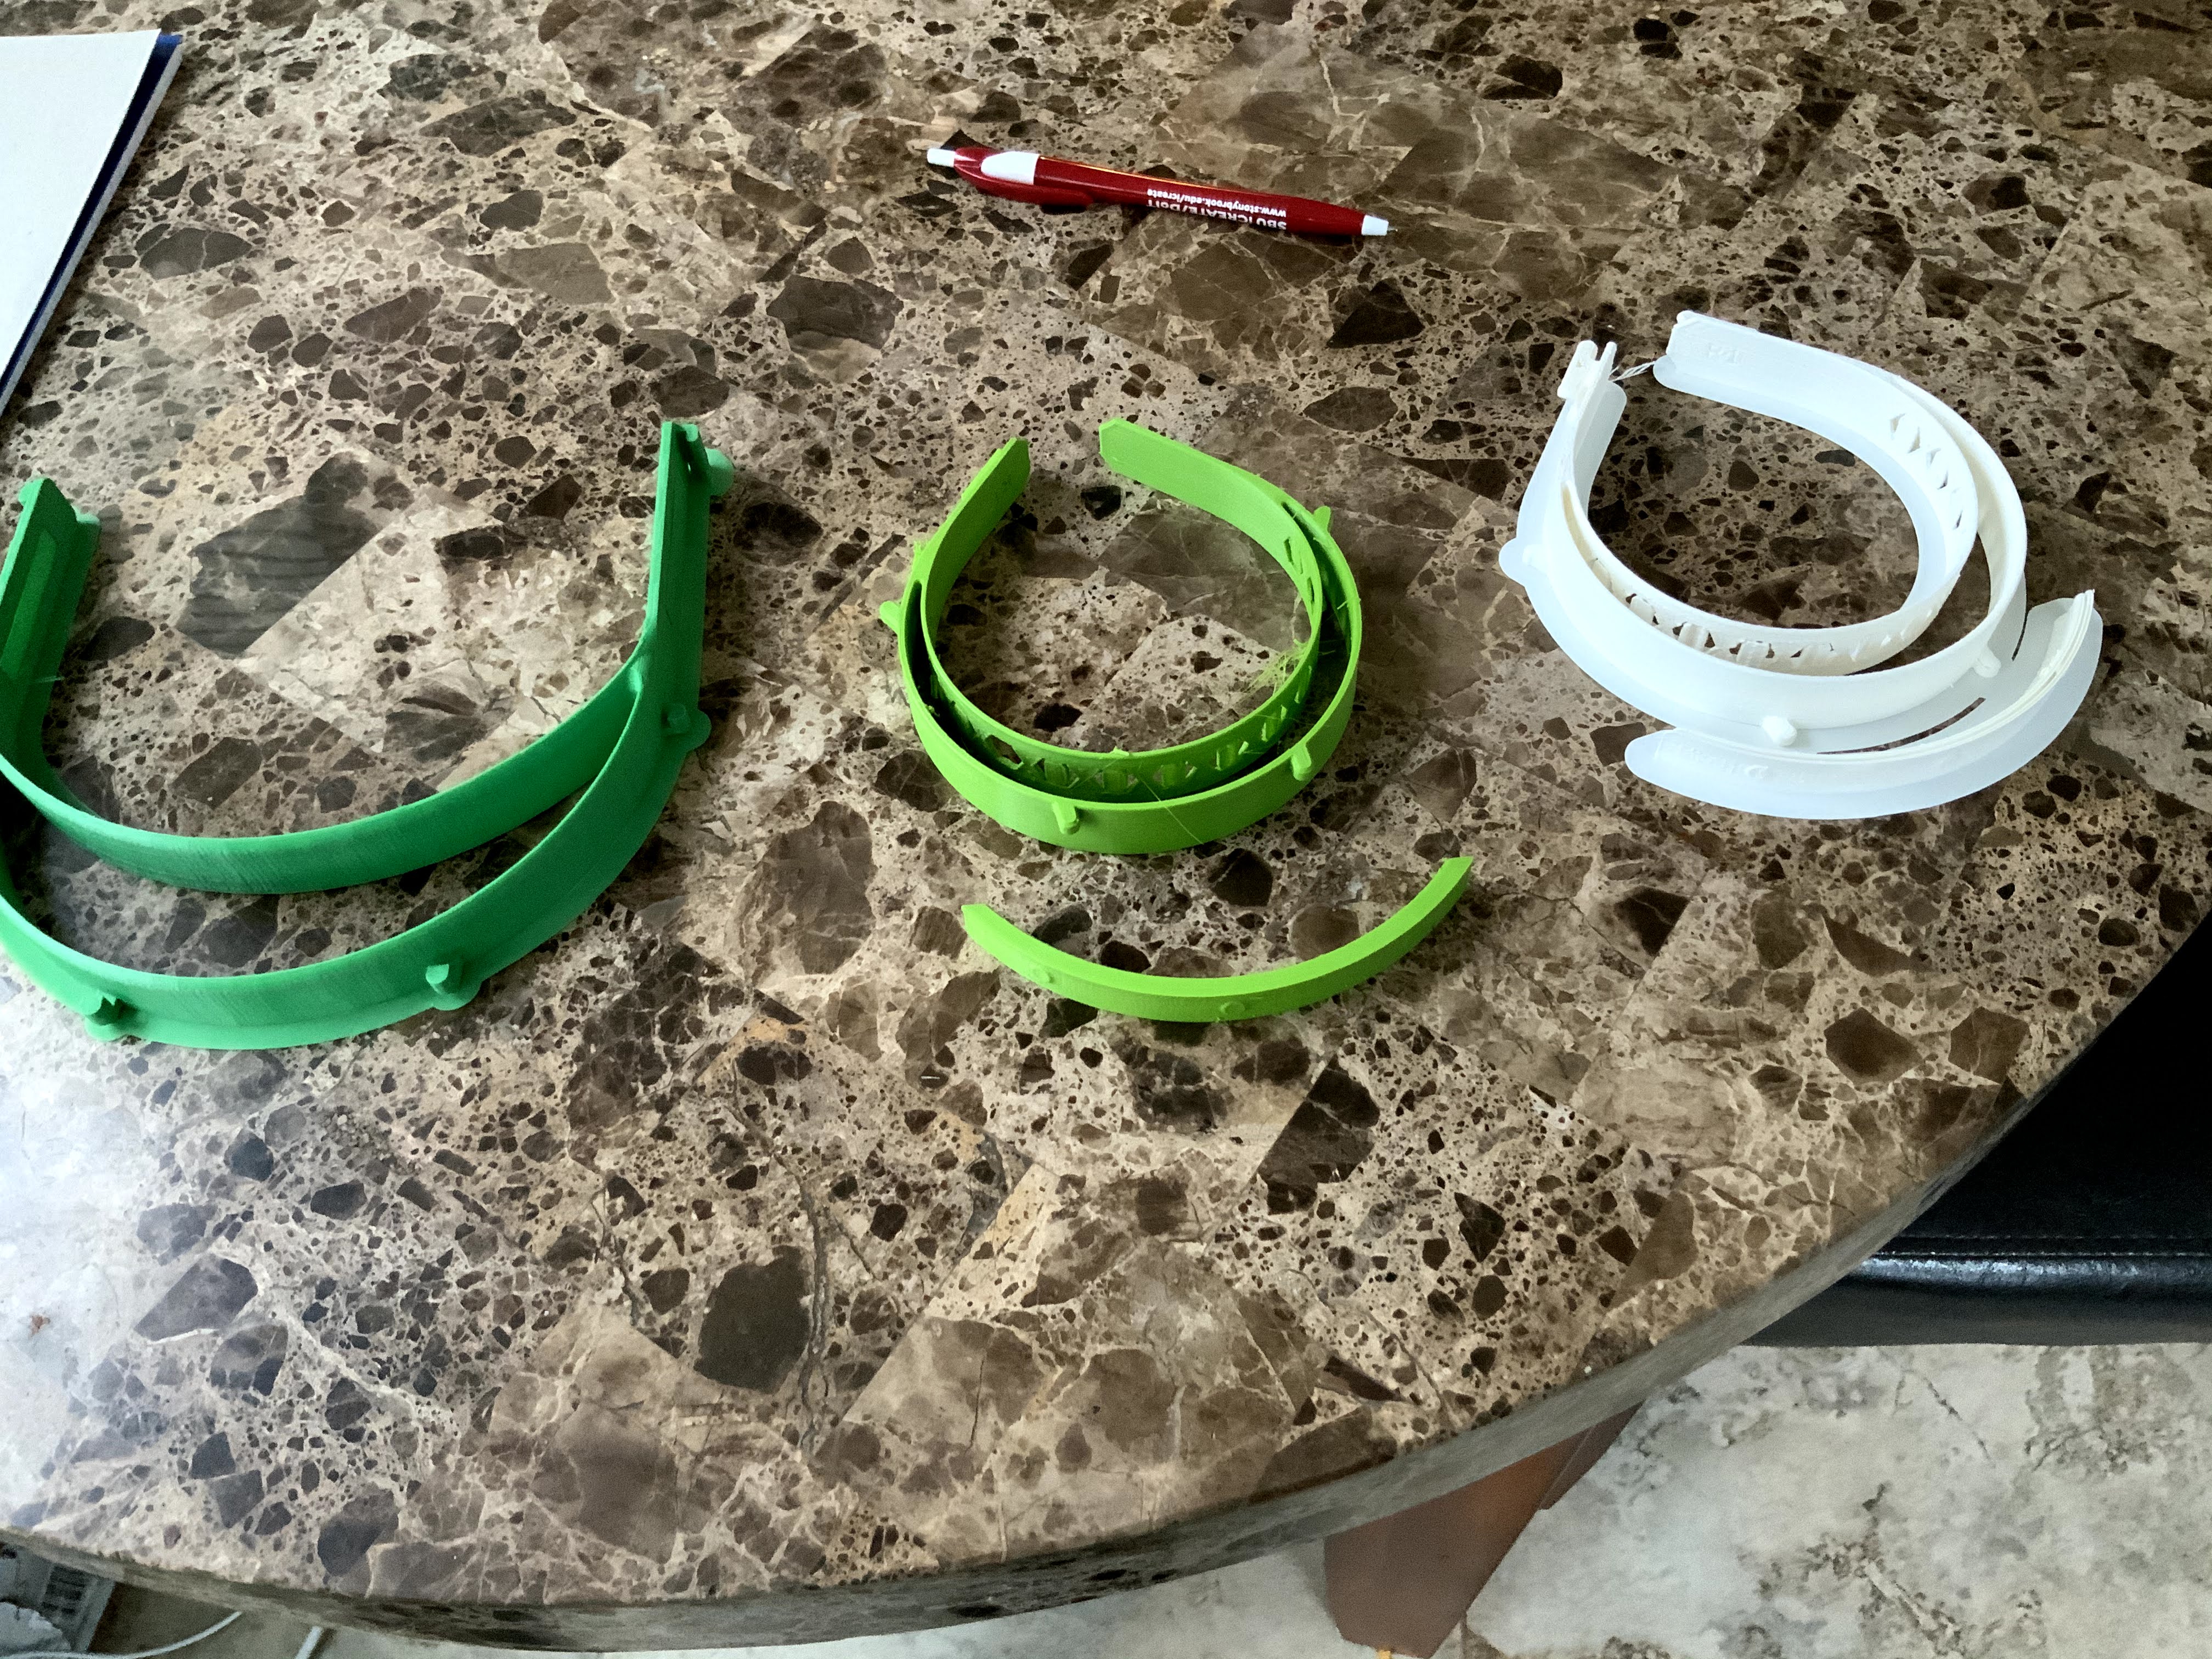
I started with these different models from companies such as Prusa and open source ideas.
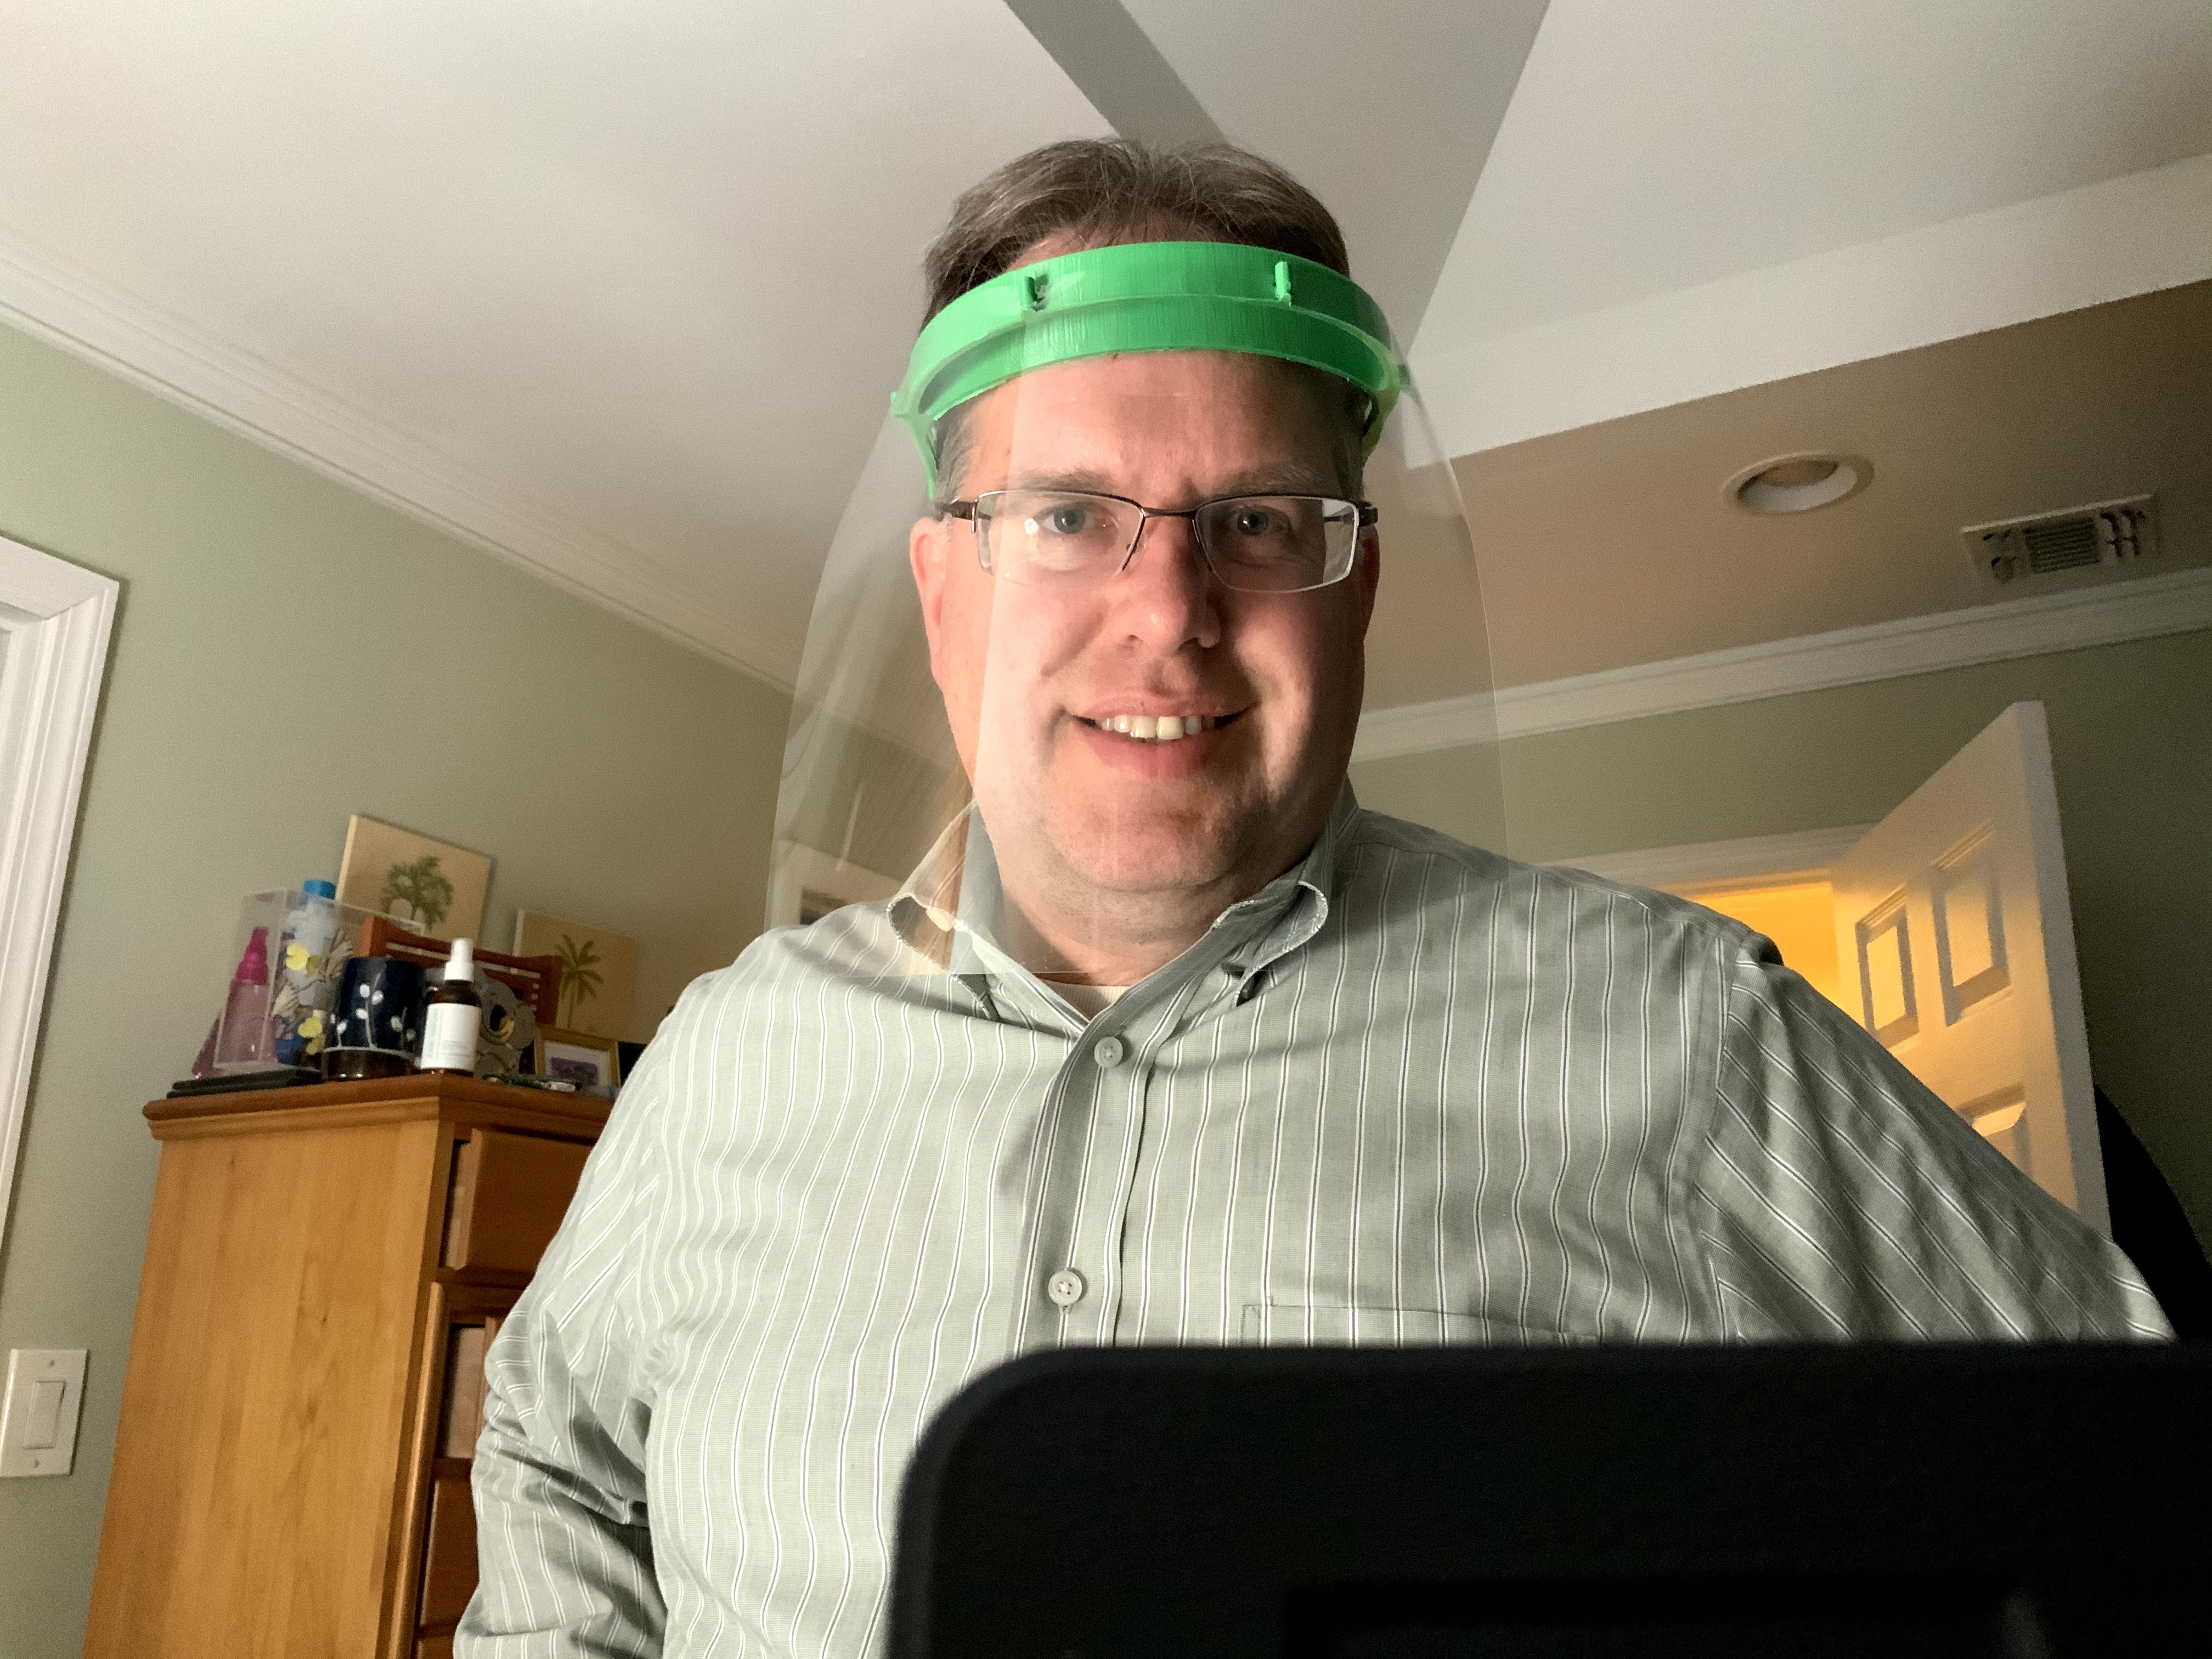
Here is me wearing it.
Stony Brook was so impressed they asked us to make 5000 of them. We started immediately by getting our 3d printers organized and designing a process. One of my challenges was designing a process that could be done by anyone. I had to experiment a little with the elastic and the foam. We designed a number of templates that really helped.
Then would 8 ½ x 11” report cover work? Finding the right place for holes and making a template that everyone could follow took some time but working on it was fun and rewarding.
Once we had everything together I was able to meet my team on a Sunday morning at Stony Brook University. I designed out Stations. A Station for inspecting the 3D printed models, putting on the weather stripping, inserting the foam, cutting the elastic to size and then adding the face shield (with the center holes first).
I found if you follow this process it goes quicker and allows you to have multiple people working on it while keeping social distance during this time.
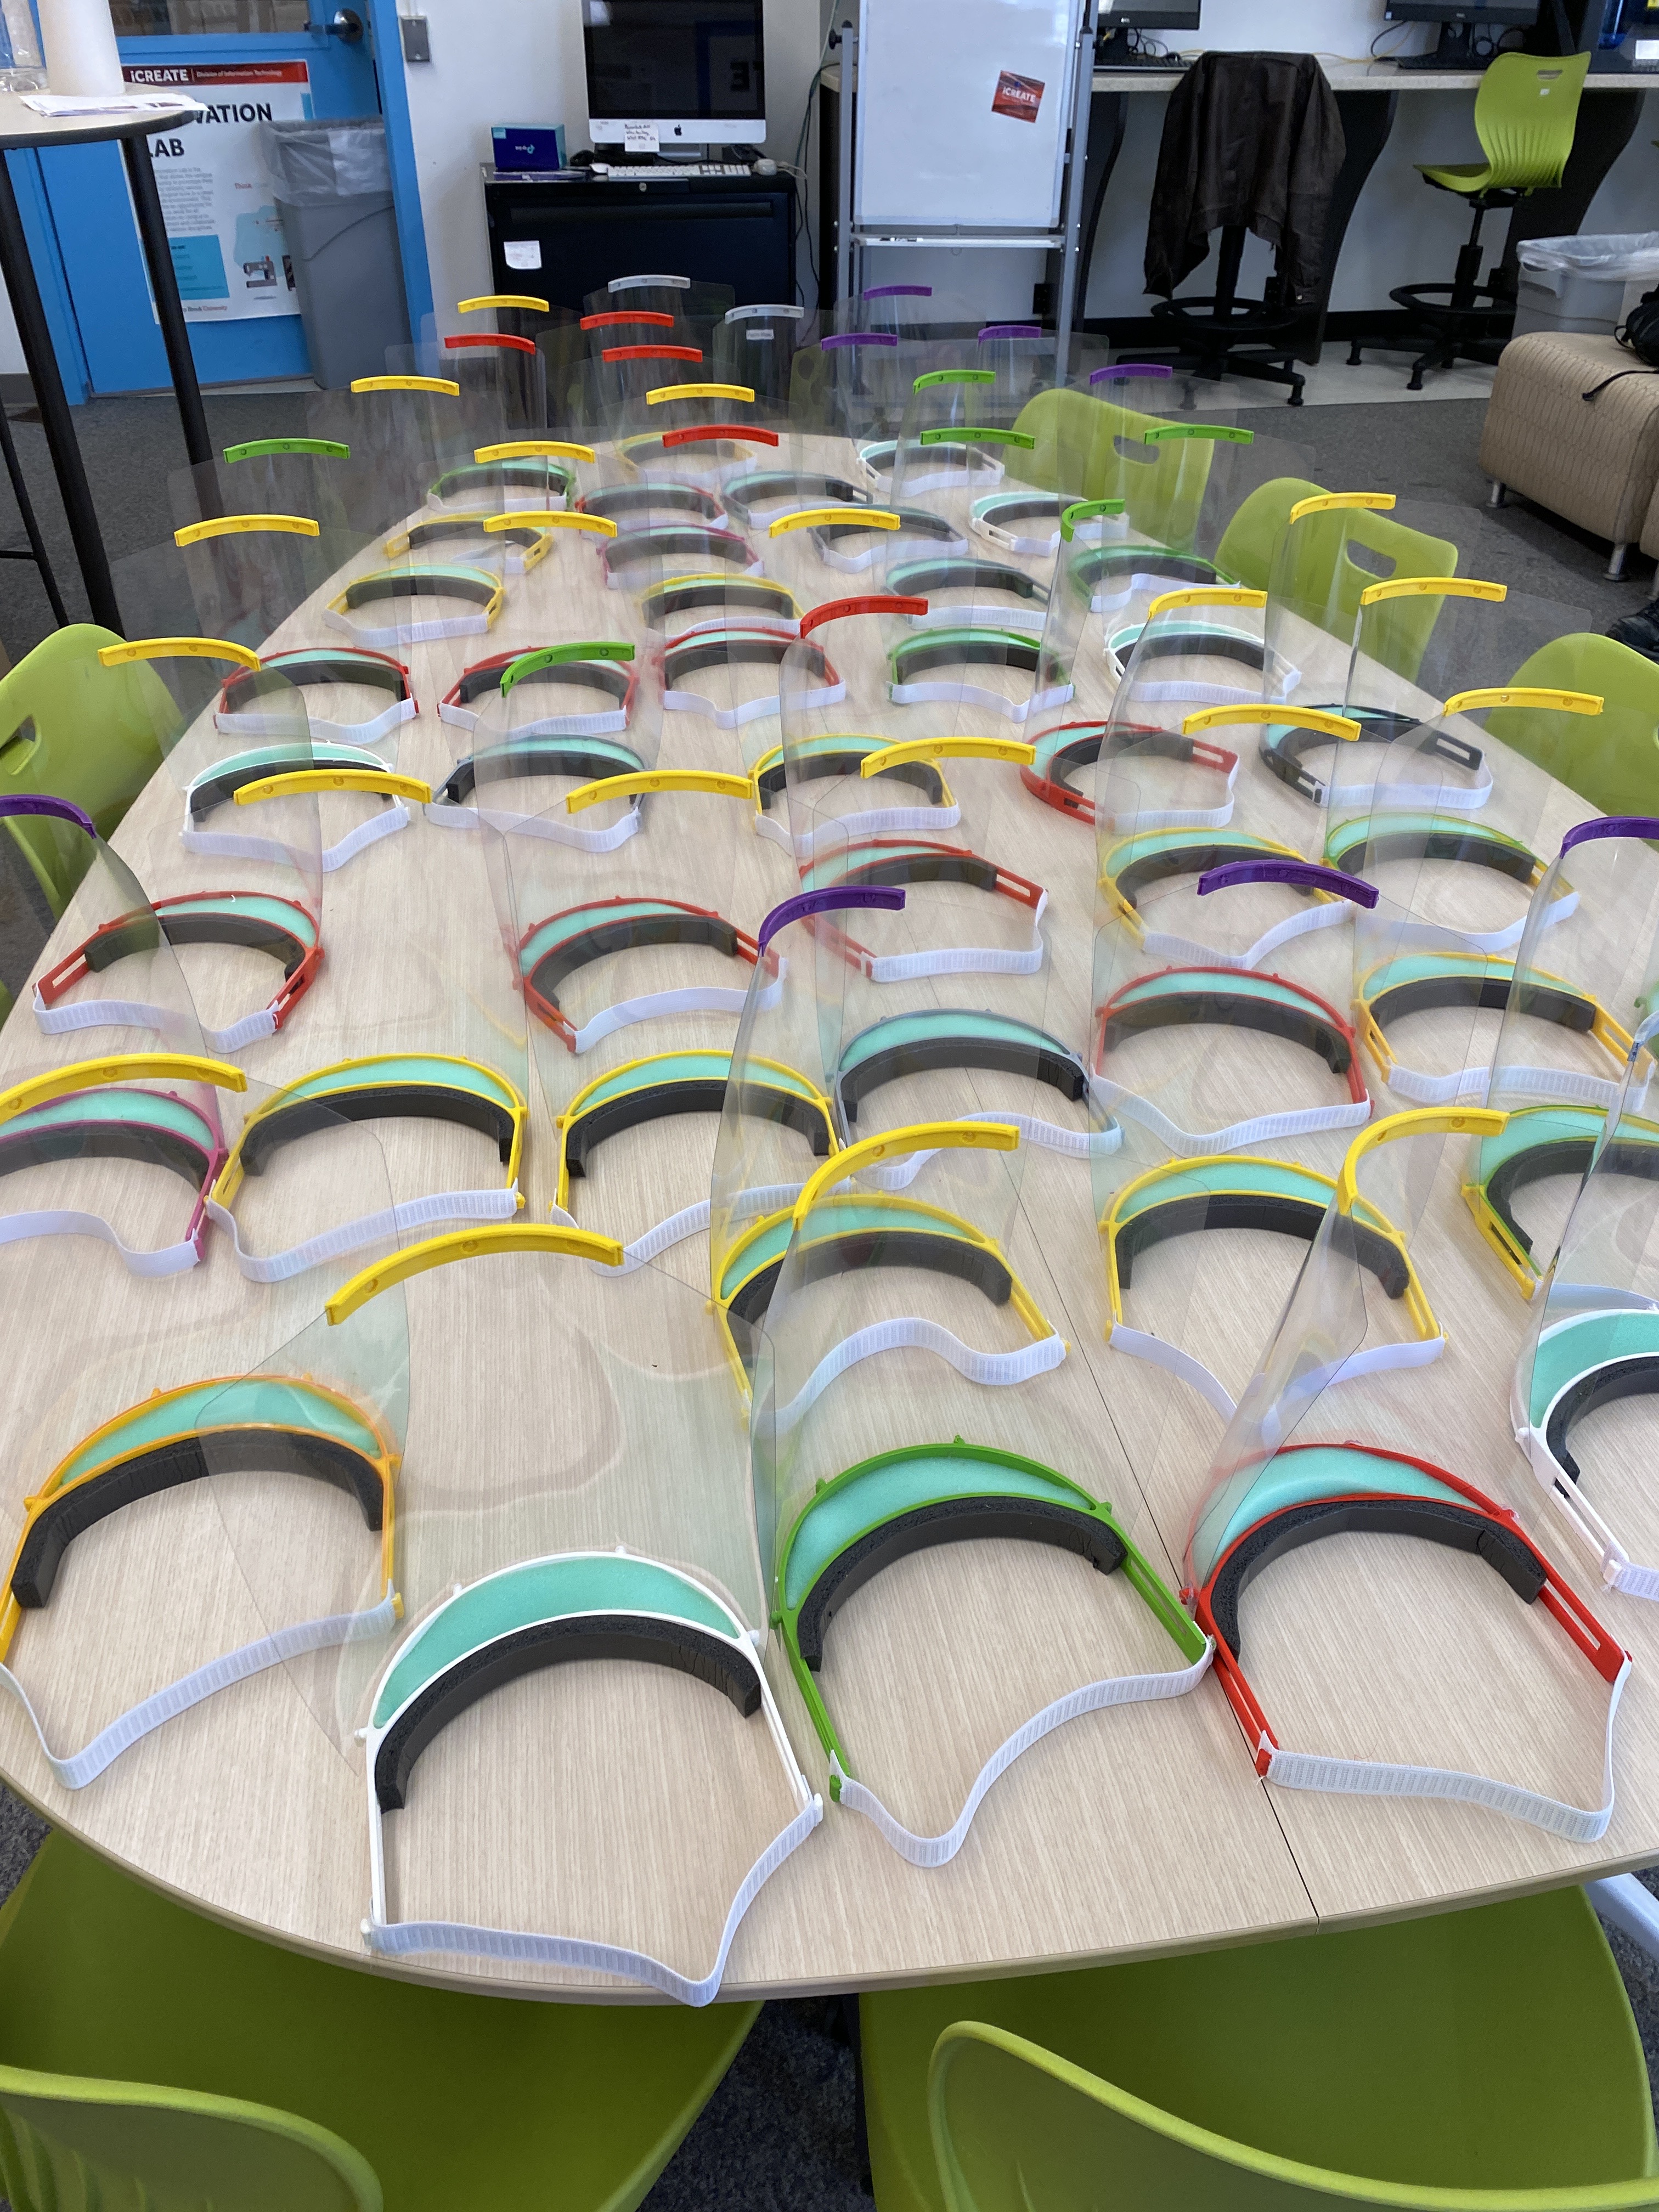
As of March 26-2020, we have produced over 180 of these in four days.
FYI: We showed the prototype to the Doctors in the hospital and they said it meet with their approval.
These were the models and prototypes that I came up with this finished product
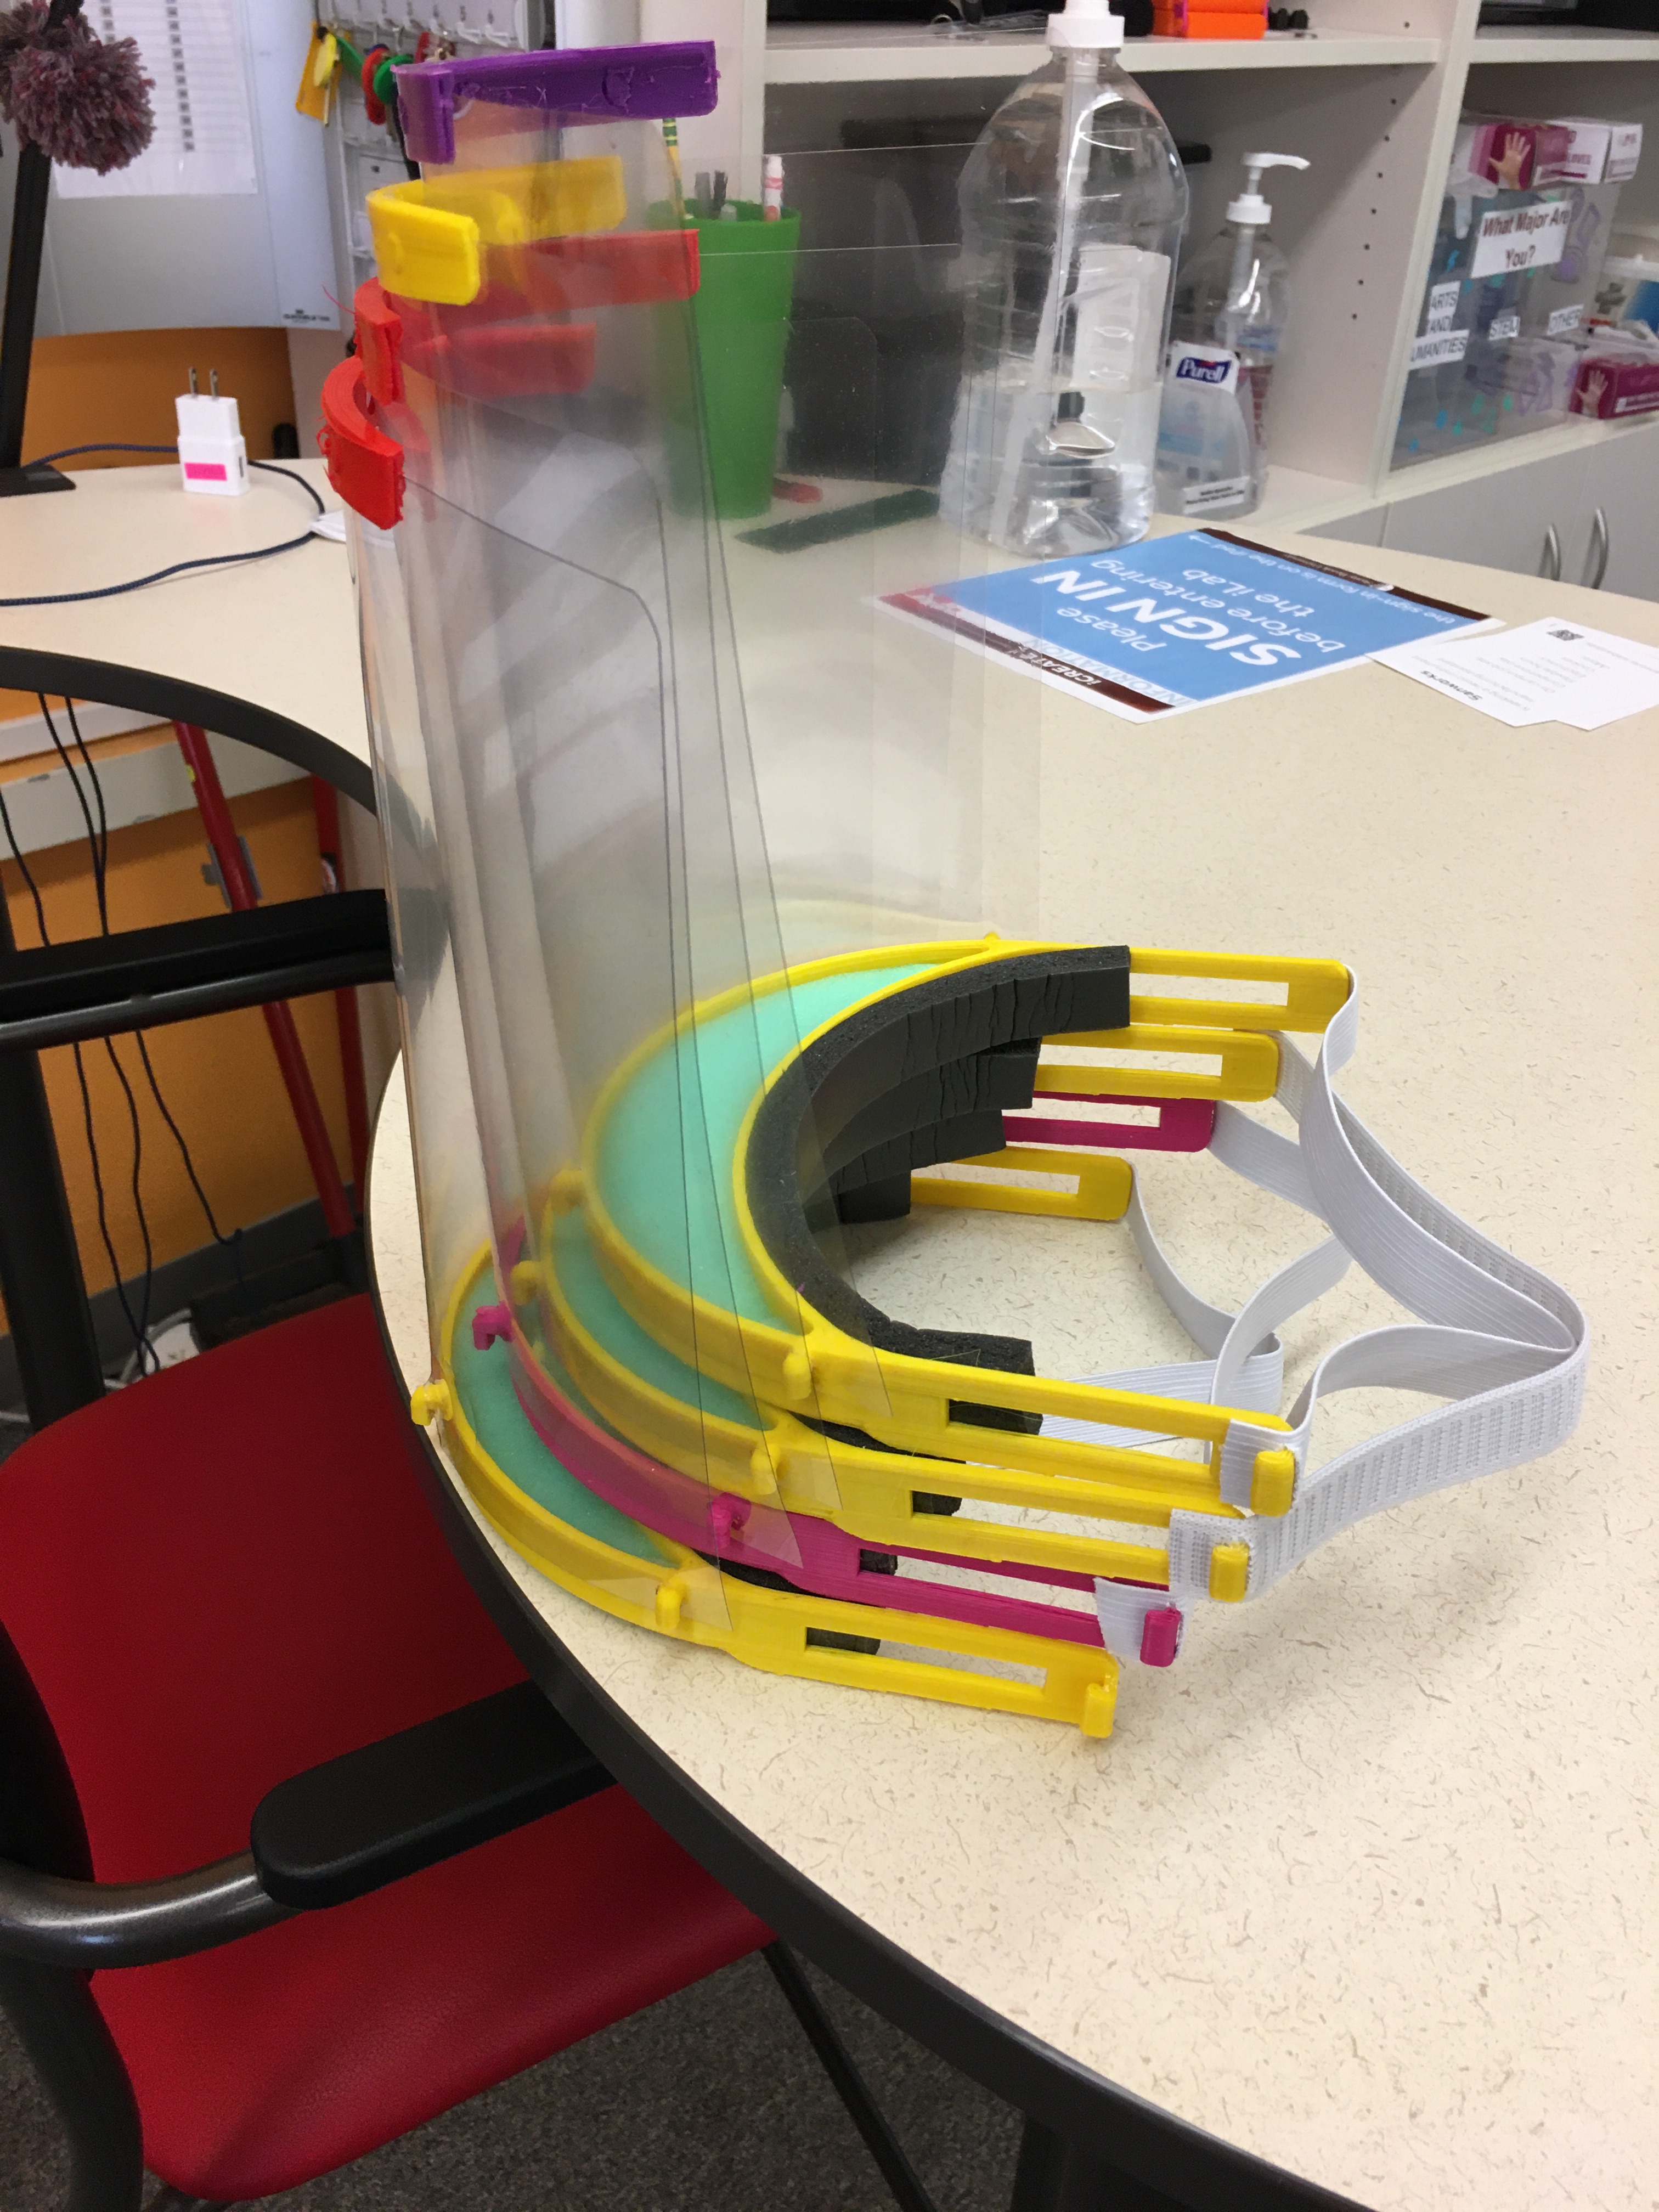
I have included below all the STL files, the procedures we use for assembly and supplies.
Supplies: 3/4 “ Elastic and 1/2 inch foam (Joann’s Fabrics), Weather-seal (Home Depot), Report Covers and One hole punch (Staples)
We have now partnered with a-lot of the community partners such as the Stony Brook preparatory school to make a laser cutter version and the Suffolk County Libraries to use all of the 3D printers they have in various places to produce these. It’s a great community effort and I am so thankful we can do this to support the health care professionals on the front lines dealing with this crisis.
Please let me know if you have questions, Note this is an innovative design and manufacturing process because of the lack of PPE that exist. As with any process the professional medical manufacturer can produce these at a faster rate and higher quality. We are innovators doing what we love, innovating to help the front line medical professionals in anyway possible.
Step by Step Directions for making the Face Shield
Here is a link to a google drive with all the other STL documents.
https://drive.google.com/drive/folders/1F9ScGZj77XVpsJGl8Z6rqSGMRukZO2NP?usp=sharing
April 1-2020
- We updated the back strap with two rubber bands and a center piece that goes behind the head.
- The picture is below, we found looping it through the outside and around allowed it to stay secure


What a great service you and your team are providing. Congratulations on your successful endeavor.
This is fabulous. I’m going to try to get these made in Virginia. I’m going to send you an email to continue this conversation and get your advice on the specifics. Lisa Pastore
This is cool – I’m also looking at making face shields and have seen the Prusa version – two things that stick out as differences which I hope you can comment on – 1) you’re using report covers (which I believe are poly-propylene) and Prusa is using (I think) plexiglass – what is the functional difference and how do your medical people feel about this? 2) you fill in the forehead gap with foam, the Prusa one leaves that empty (also you have foam for the forehead – assuming that is primarily comfort) – what is the impact / feedback on these differences from your customers in these design choices?
Thanks!
Additional question #3) For printing, are you using PLA, or another material?
Thanks for the questions.
1. The medical profession were alright with the plastic. The foam was vital for our medical teams to catch some of the particulates in the air they didn’t want open gaps around the persons head. We are using PLA since that is what was in stock and easy to replicate.
Hello David, THANK YOU VERY MUCH for your ideas and service. Great job to help our Medical Personal! I cannot find a template to punch holes on the report cover. Can you please direct me where is it?
Thanks.
Mark Tentler.
Your Welcome Mark. Thanks we are all working to keep everyone safe. The template, I designed was using a pice of paper. I wasn’t sure how to post, but I scanned in the template just now then added it to the folder. If you print this on an 8 1/2 x 11″ piece of paper it should be close. I don’t have a good scanner at home.
Where can I send printed parts? I don’t have the means to get the other items, but I have 2 printers sitting idle, and tons of filament, ready to help.
You can contact Joan.dickinson@stonybrook.edu. She is handling delivery and donations
Can you use the soft page saver ones or only the hard report covers? I have literally hundreds of the soft page savers. Let me know; they’re all yours if you can use them.
Jeanne. You can definitely try. I found them not to be solid enough
I just found someone in the Bronx who wanted a different version, so I’ve been churning them out on my little Ender 3. The flat design means I can print two in about an hour with some quality tweaks. https://3dverkstan.se/protective-visor/protective-visor-versions/
If there’s still more needed here, I can change over after I send a batch their way.